If you’re wondering how to lay artificial grass, you’re probably curious if it’s worth doing yourself or hiring a professional. While we would always recommend getting a professional fitter for the best results, it is possible to learn how to lay artificial grass through YouTube tutorials or written instructions like what we’ll share below. We’ll cover what materials you’ll need to hand and the steps involved in installing artificial grass yourself.
What supplies do I need to lay artificial grass?
You’ll need to gather together some tools for your project. These include a spade, sharp sand, pitchfork, hammer, weed membrane & artificial grass (enough to cover the whole surface), builder’s plank, sharp knife, adhesive, firm brush, ground pins and jointing tape. Make sure to have more tape, grass, membrane, adhesives and ground pins than you need. This will prevent you from running out in the middle of your project. You’ll also need to leave sufficient time to complete the installation. It takes 2 days on average to cover most UK gardens. So, check the weather forecast (and your working schedule) prior to beginning the artificial grass installation.
Steps to install artificial grass
Once you have all your tools and supplies to hand, just follow the steps below to install your new artificial turf:
- Remove 40mm of the existing turf all the way around your garden. You can easily do this with a pitchfork and a spade. There are also turf cutters you could hire to do this faster if you have a very large garden.
- Spread 35mm of sharp sand all over the prepared surface. Try to make it as compact as possible. You can use a builder’s plank and your hammer to level it out as best you can. It’s okay if there are some gentle slopes, however. Just compact the sand thoroughly before moving to the next step.
- Now it’s time for the weed membrane. Roll it flat with 300mm overlap at each join. Cut it to fit with your sharp knife.
- Position your grass for all of the blades to face your house. Roll it out in a stagger for a more natural look. Butt the edges together and free up any blades caught between rolls. Again, it’s very important all the blades are installed the same way. Use your sharp knife to cut the rolls. Once you’re happy with the placement, join with the jointing tape and adhesive.
- Place the tape at the edges where the rolls need to connect, rough side up. Apply your glue and then lay the grass, making sure only the grass base touches the tape and adhesive. Never let your blades get glued down. Use your stiff brush to hide the seams.
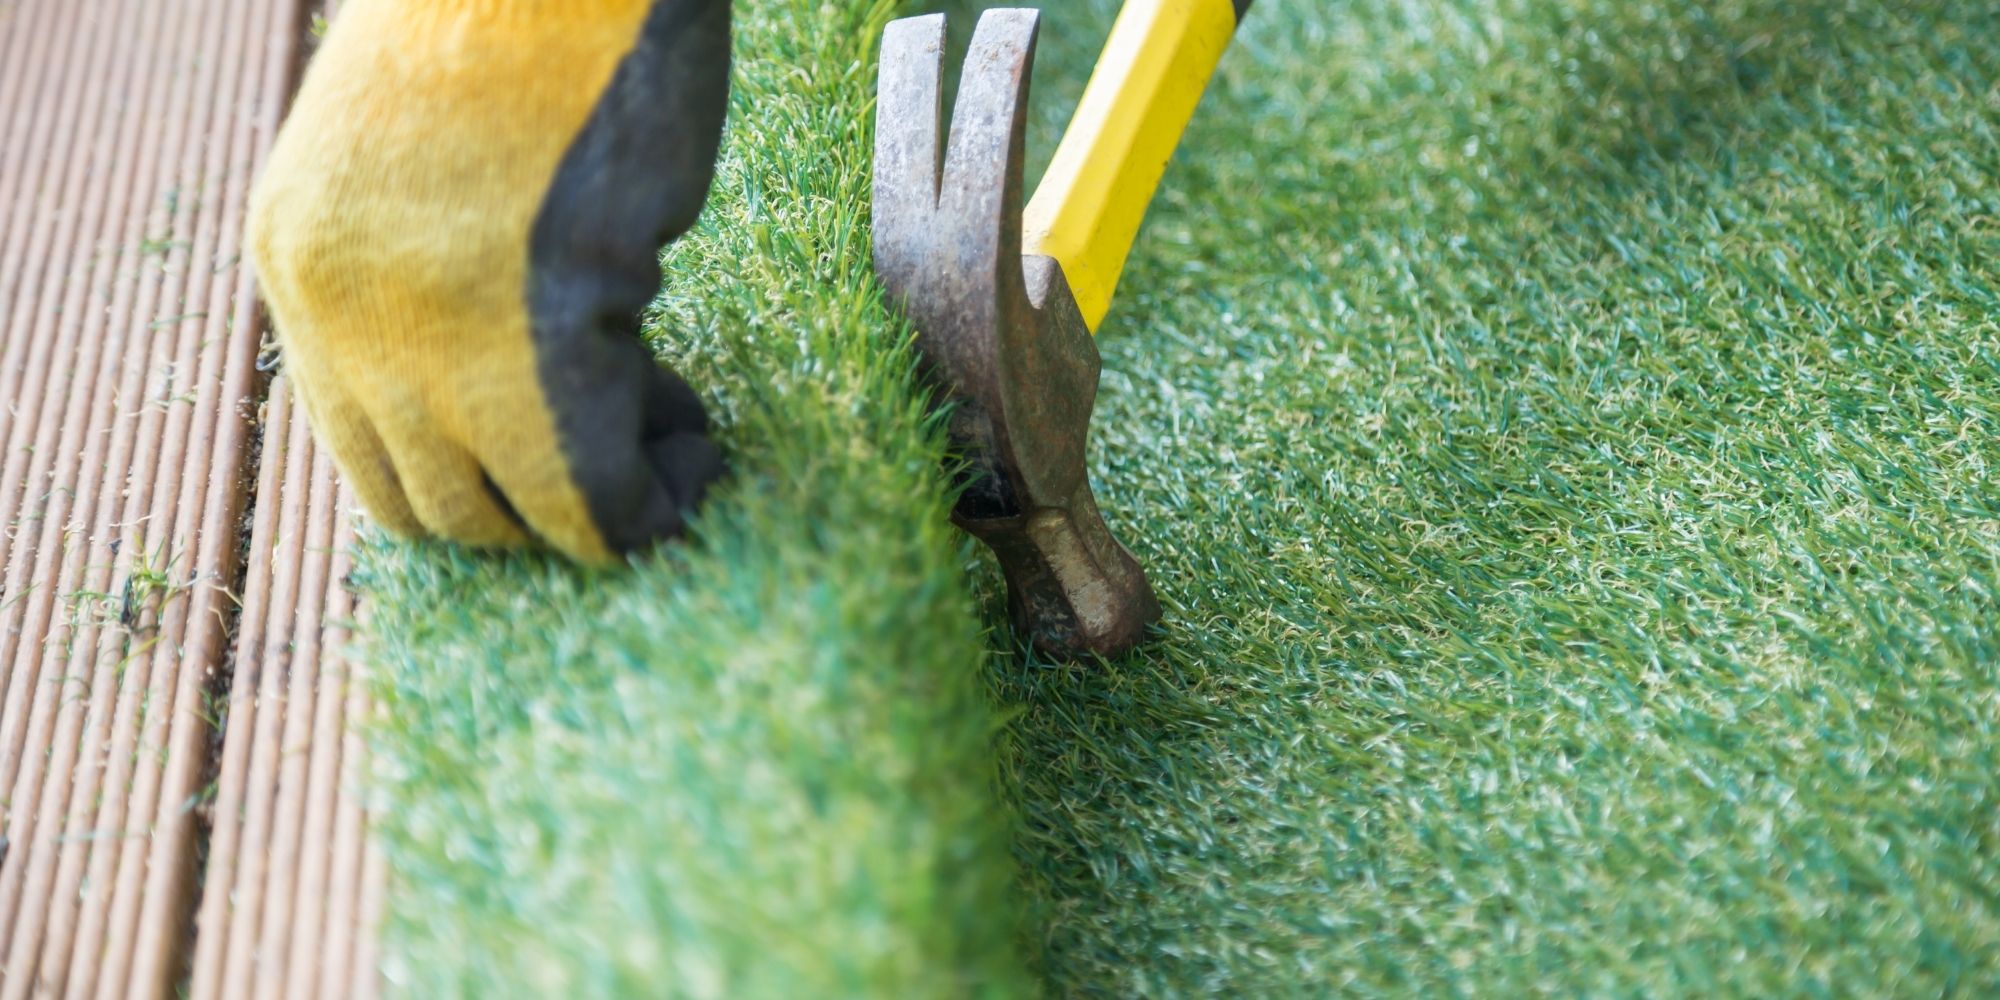
- Secure your edges with ground pins at 20cm intervals. Again, ruffle the blades with your stiff brush to keep the pins out of sight.
- Once you’ve finished the installation, rough up all your blades with a stiff brush for a fuller-looking turf. You can repeat this step whenever your artificial grass begins to look trampled.